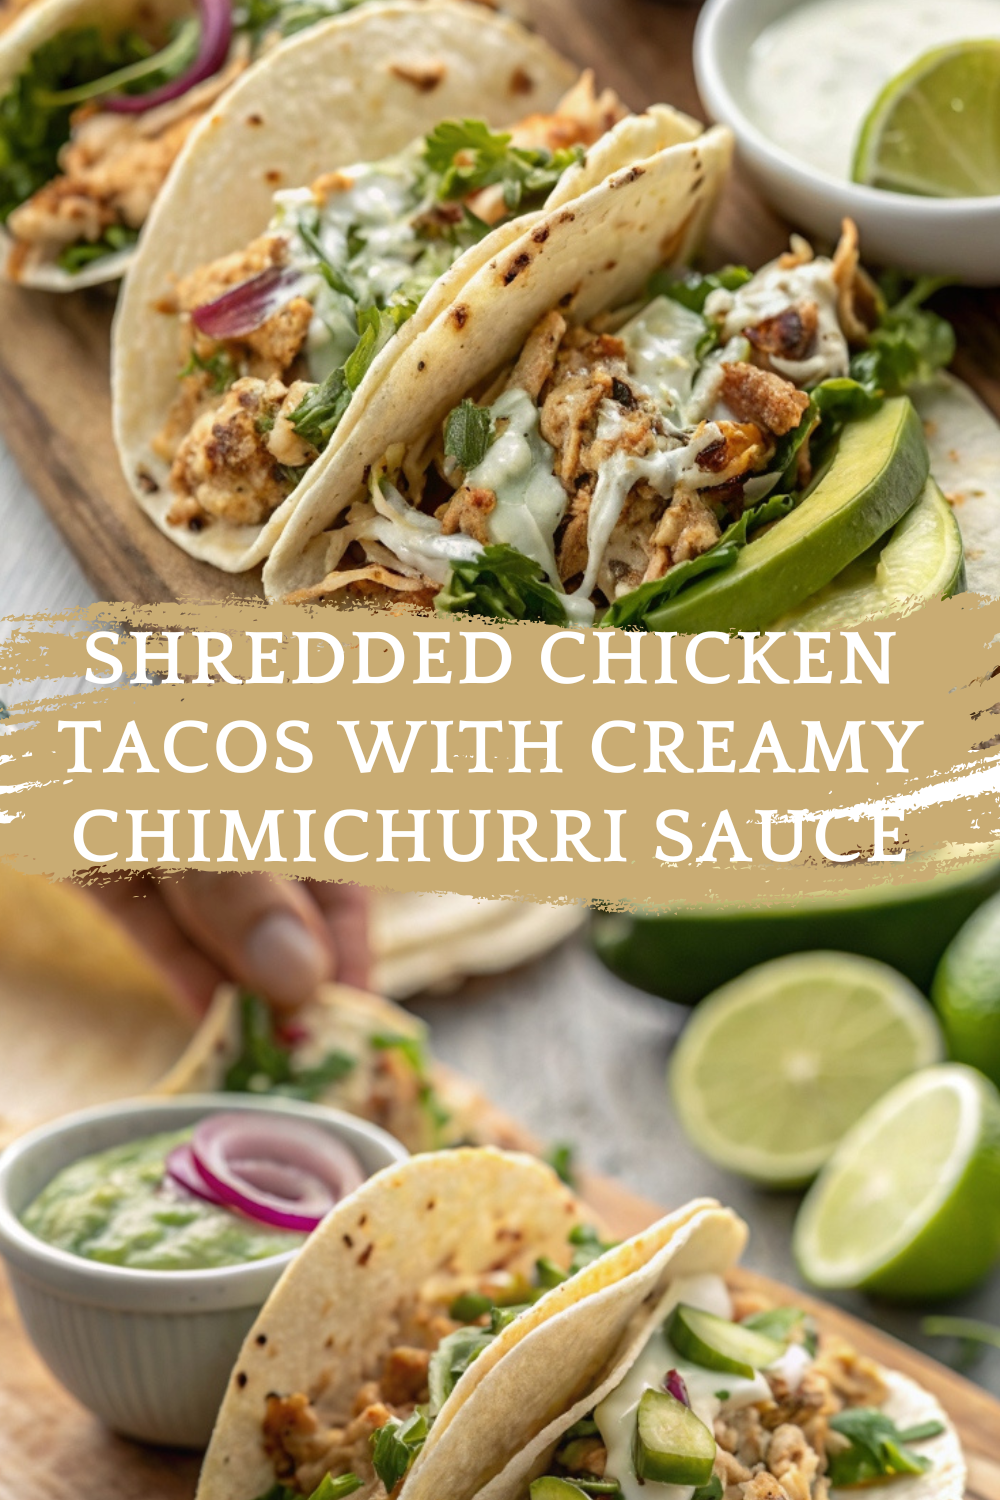
Shredded Chicken Tacos with Creamy Chimichurri Sauce – Fresh, Flavorful, and Fast!
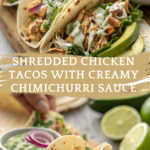
If you’re craving bold, zesty flavors wrapped in a warm tortilla, these Shredded Chicken Tacos with Creamy Chimichurri Sauce are exactly what you need. 🌮✨ Perfectly seasoned shredded chicken meets a vibrant, herbaceous chimichurri sauce — but with a creamy twist that makes it perfect for drizzling. These tacos are bright, fresh, and packed with flavor in every bite. Whether you’re making a casual weeknight dinner, feeding a crowd for Taco Tuesday, or prepping lunches for the week, this recipe is as versatile as it is delicious. The best part? These tacos are quick to make and fully customizable. Add your favorite toppings, use rotisserie chicken to save time, or turn them into taco bowls! If you love recipes like this, check out this Easy Chicken Tinga Tacos or this vibrant Grilled Fish Tacos for more taco inspiration. Let’s dive into these irresistible tacos!
- For the Shredded Chicken:
- 1.5 lbs boneless (skinless chicken breasts or thighs)
- 2 teaspoons olive oil
- 1 teaspoon cumin
- 1 teaspoon smoked paprika
- 1 teaspoon garlic powder
- 1/2 teaspoon chili powder (optional, for heat)
- Salt and black pepper (to taste)
- 1/2 cup chicken broth or water (for moisture)
- For the Creamy Chimichurri Sauce:
- 1 cup fresh parsley (tightly packed)
- 1/4 cup fresh cilantro (tightly packed)
- 3 garlic cloves
- 1/2 teaspoon red pepper flakes
- 2 tablespoons red wine vinegar
- 1/3 cup olive oil
- 1/2 cup mayonnaise (for creaminess!)
- Salt and pepper (to taste)
- Juice of 1 lime
- For the Tacos:
- 8 small flour or corn tortillas
- 1 cup shredded lettuce
- 1/2 cup diced red onion
- 1 avocado (sliced)
- Fresh lime wedges (for serving)
- Optional toppings: crumbled queso fresco (diced tomatoes, jalapeños)
Step 1: Cook the Chicken
- Heat olive oil in a large skillet over medium heat.
- Season the chicken with cumin, smoked paprika, garlic powder, chili powder, salt, and pepper.
- Add chicken to the skillet and sear for 3–4 minutes per side until golden.
- Pour in chicken broth, cover, and reduce heat to low.
- Simmer for 10–12 minutes, or until chicken is cooked through.
- Remove the chicken from the pan, let it rest for a few minutes, then shred using two forks.
Step 2: Make the Creamy Chimichurri Sauce
- In a food processor, combine:
- Parsley
- Cilantro
- Garlic
- Red pepper flakes
- Red wine vinegar
- Olive oil
- Lime juice
- Pulse until finely chopped.
- Transfer to a bowl, stir in the mayonnaise, and season with salt and pepper to taste.
- Tip: For a thinner sauce, add a splash of water or more olive oil.
Step 3: Warm the Tortillas
- Heat tortillas in a dry skillet for 20–30 seconds per side until warm and pliable.
Step 4: Assemble the Tacos
- Spread a spoonful of creamy chimichurri sauce on each tortilla.
- Add shredded chicken, then top with lettuce, red onion, avocado slices, and any other toppings you love.
- Drizzle with extra sauce and serve with lime wedges on the side.
Step 5: Serve and Enjoy!
- Serve immediately and enjoy these fresh, zesty, flavor-packed tacos!
Variations
Want to mix it up? Here are some delicious variations:
1. Spicy Chicken Tacos
Add an extra pinch of cayenne pepper or a splash of hot sauce to the chicken.
2. Taco Bowl Version
Serve over rice or cauliflower rice with black beans for a taco bowl!
3. Vegetarian Option
Substitute shredded chicken with roasted cauliflower or jackfruit.
4. Low-Carb Lettuce Wraps
Swap tortillas for large butter lettuce leaves for a low-carb option.
5. Cheesy Chicken Tacos
Sprinkle shredded cheddar cheese or queso fresco over the warm chicken.
6. Extra Creamy Sauce
Add extra mayo or Greek yogurt for an even creamier chimichurri.
Storage and Reheating
Storage:
Store the shredded chicken and sauce separately in airtight containers.
Keep in the refrigerator for up to 4 days.
Reheating:
Reheat the chicken in the microwave for 1–2 minutes or in a skillet over low heat.
Chimichurri sauce is best served chilled or at room temperature.
Freezing:
Freeze shredded chicken in a freezer-safe bag for up to 2 months.
Thaw overnight in the refrigerator before reheating.
10 Frequently Asked Questions (FAQs)
1. Can I use rotisserie chicken for this recipe?
Yes! Using shredded rotisserie chicken saves time and works perfectly.
2. Is the chimichurri sauce spicy?
It has a mild kick from red pepper flakes, but you can adjust to your heat preference.
3. Can I make this dairy-free?
Absolutely! Use dairy-free mayo in the sauce.
4. What tortillas work best?
Both corn tortillas and flour tortillas work beautifully — it’s a personal preference!
5. How long does the sauce last?
Stored in an airtight container, the chimichurri sauce stays fresh for up to 5 days in the fridge.
6. Can I grill the chicken instead?
Yes! Grilling adds a smoky flavor that pairs wonderfully with the chimichurri.
7. Can I make the sauce ahead of time?
Yes — in fact, the flavors deepen when the sauce sits for a few hours.
8. Are these tacos gluten-free?
Use gluten-free corn tortillas and double-check your mayonnaise and seasonings.
9. What else can I use the chimichurri sauce for?
It’s fantastic as a salad dressing, steak sauce, or dip for veggies!
10. Can I meal prep these tacos?
Yes! Store the components separately and assemble when ready to serve.
Conclusion
There you have it — Shredded Chicken Tacos with Creamy Chimichurri Sauce that are bursting with freshness and flavor! 🌮🍋✨
These tacos are perfect for busy weeknights, Taco Tuesdays, or anytime you want a fast, satisfying meal that doesn’t skimp on taste. The juicy shredded chicken paired with the zippy, creamy chimichurri sauce is simply irresistible. Add your favorite toppings, and you’ve got a taco night worth celebrating!
If you’re looking for more taco inspiration, don’t miss this Pork Carnitas Tacos or these Grilled Shrimp Tacos with Avocado Crema.
Happy taco making! 🎉