✨ Introduction
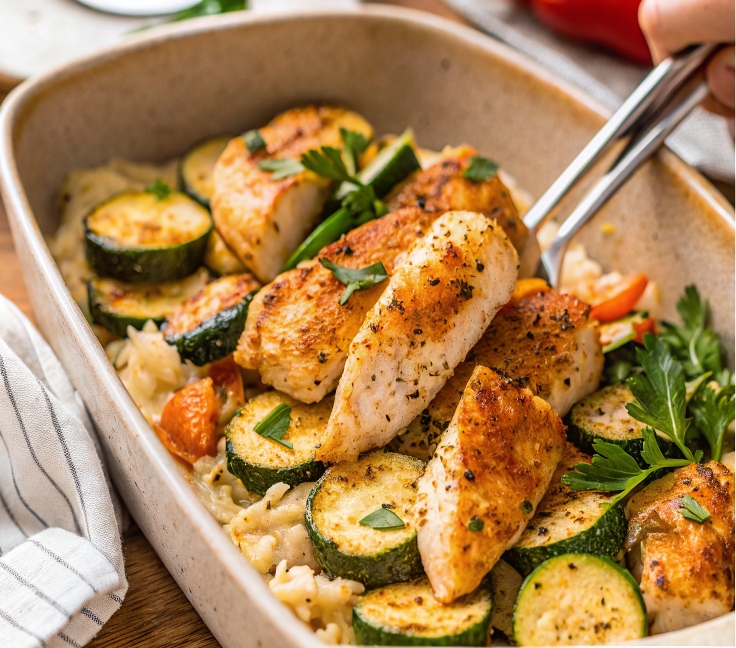
Need a simple, healthy, and delicious meal that’s ready in under an hour? This Baked Chicken and Zucchini recipe checks all the boxes! Tender, juicy chicken breasts are baked alongside perfectly seasoned zucchini, creating a wholesome dinner that’s low-carb, gluten-free, and packed with fresh flavors. It’s easy enough for busy weeknights and impressive enough for meal prep or casual gatherings.
🍽️ Servings & Time
- Yield: 4 servings
- Prep Time: 10 minutes
- Cook Time: 30–35 minutes
- Total Time: ~45 minutes
🛒 Ingredients
Protein & Veggies:
- 4 boneless, skinless chicken breasts
- 2 medium zucchinis, sliced into half-moons
- 2 cloves garlic, minced
Seasonings:
- 1 tsp Italian seasoning
- ½ tsp paprika
- Salt & pepper, to taste
Oils & Fats:
- 2 tbsp olive oil
Optional Garnishes:
- Fresh parsley, chopped
- Grated Parmesan cheese
🧑🍳 Equipment Needed
- Large baking dish
- Mixing bowls
- Tongs or spatula
- Knife and cutting board
- Aluminum foil (optional)
🍳 Instructions
1. Preheat Oven:
Preheat your oven to 400°F (200°C). Lightly grease a large baking dish.
2. Season the Chicken:
In a bowl, drizzle chicken breasts with 1 tablespoon olive oil. Season with Italian seasoning, paprika, salt, and pepper. Rub to coat evenly.
3. Prepare the Zucchini:
In a separate bowl, toss sliced zucchini with 1 tablespoon olive oil, minced garlic, salt, and pepper.
4. Assemble the Dish:
Arrange chicken breasts in the baking dish. Scatter the seasoned zucchini around and between the chicken pieces.
5. Bake:
Bake uncovered for 30–35 minutes, or until the chicken reaches an internal temperature of 165°F (74°C) and the zucchini is tender.
Optional: Broil for 2–3 minutes at the end for a golden, crispy top.
6. Serve:
Garnish with fresh parsley or a sprinkle of Parmesan. Serve hot!
🔁 Variations
- Add Tomatoes: Scatter cherry tomatoes around the zucchini for a pop of color and flavor.
- Spicy Kick: Add red pepper flakes to the seasoning mix.
- Cheesy Version: Top chicken breasts with mozzarella during the last 5 minutes of baking.
🧊 Storage Tips
- Fridge: Store leftovers in an airtight container for up to 4 days.
- Reheat: Warm in the oven at 325°F or microwave until heated through.
- Freeze: Freeze baked chicken separately from zucchini for best texture. Store for up to 2 months.
❓ Frequently Asked Questions
Can I use chicken thighs instead?
Absolutely! Adjust the baking time slightly (thighs may need 5–10 minutes longer depending on size).
Should I peel the zucchini?
No need! The skin adds texture, nutrients, and helps the zucchini hold its shape while baking.
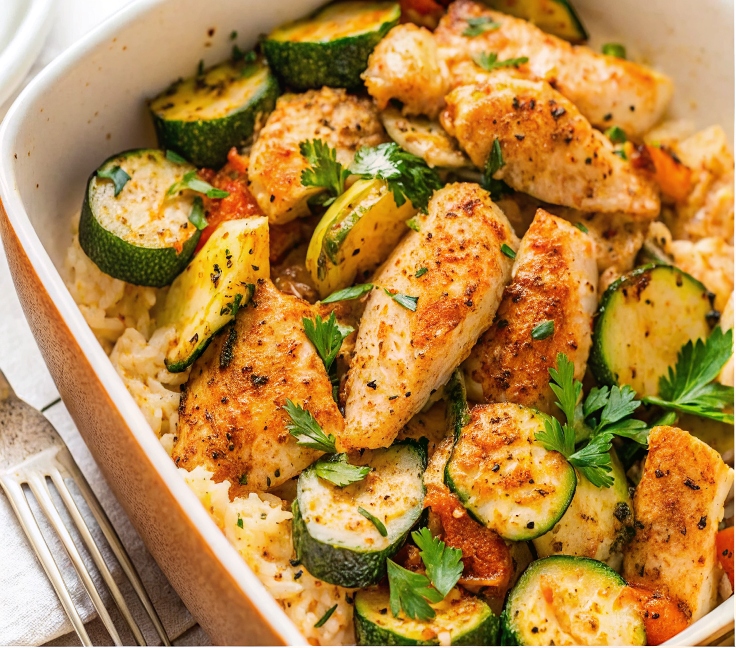
What sides go well with this?
Try serving with rice, quinoa, roasted potatoes, or a fresh green salad.
Baked Chicken and Zucchini – Light, Healthy & Full of Flavor

Need a simple, healthy, and delicious meal that’s ready in under an hour? This Baked Chicken and Zucchini recipe checks all the boxes! Tender, juicy chicken breasts are baked alongside perfectly seasoned zucchini, creating a wholesome dinner that’s low-carb, gluten-free, and packed with fresh flavors. It’s easy enough for busy weeknights and impressive enough for meal prep or casual gatherings.
- Large baking dish
- Mixing bowls
- Tongs or spatula
- Knife and cutting board
- Aluminum foil (optional)
Protein & Veggies:
- 4 boneless (skinless chicken breasts)
- 2 medium zucchinis (sliced into half-moons)
- 2 cloves garlic (minced)
Seasonings:
- 1 tsp Italian seasoning
- ½ tsp paprika
- Salt & pepper (to taste)
Oils & Fats:
- 2 tbsp olive oil
- Optional Garnishes:
- Fresh parsley (chopped)
- Grated Parmesan cheese
Preheat Oven:
- Preheat your oven to 400°F (200°C). Lightly grease a large baking dish.
Season the Chicken:
- In a bowl, drizzle chicken breasts with 1 tablespoon olive oil. Season with Italian seasoning, paprika, salt, and pepper. Rub to coat evenly.
Prepare the Zucchini:
- In a separate bowl, toss sliced zucchini with 1 tablespoon olive oil, minced garlic, salt, and pepper.
Assemble the Dish:
- Arrange chicken breasts in the baking dish. Scatter the seasoned zucchini around and between the chicken pieces.
Bake:
- Bake uncovered for 30–35 minutes, or until the chicken reaches an internal temperature of 165°F (74°C) and the zucchini is tender.
- Optional: Broil for 2–3 minutes at the end for a golden, crispy top.
Serve:
- Garnish with fresh parsley or a sprinkle of Parmesan. Serve hot!
🔁 Variations
Add Tomatoes: Scatter cherry tomatoes around the zucchini for a pop of color and flavor.
Spicy Kick: Add red pepper flakes to the seasoning mix.
Cheesy Version: Top chicken breasts with mozzarella during the last 5 minutes of baking.
🧊 Storage Tips
Fridge: Store leftovers in an airtight container for up to 4 days.
Reheat: Warm in the oven at 325°F or microwave until heated through.
Freeze: Freeze baked chicken separately from zucchini for best texture. Store for up to 2 months.
❓ Frequently Asked Questions
Can I use chicken thighs instead?
Absolutely! Adjust the baking time slightly (thighs may need 5–10 minutes longer depending on size).
Should I peel the zucchini?
No need! The skin adds texture, nutrients, and helps the zucchini hold its shape while baking.
What sides go well with this?
Try serving with rice, quinoa, roasted potatoes, or a fresh green salad.