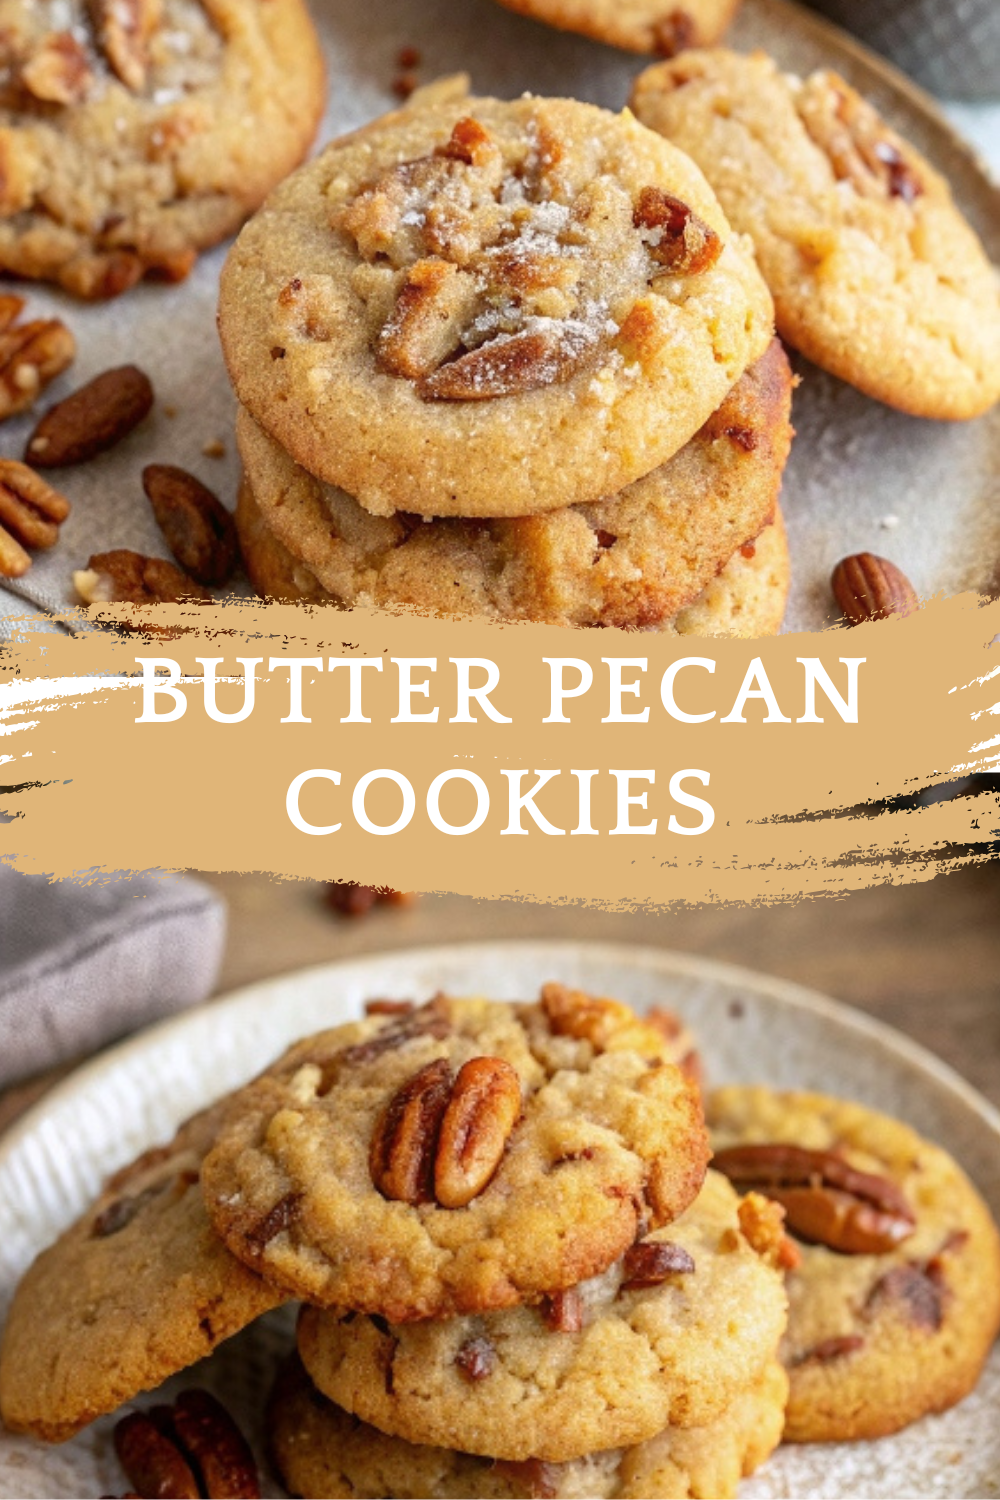
Butter Pecan Cookies – Buttery, Nutty, and Totally Irresistible!

If you’re searching for a cookie recipe that’s packed with rich, buttery flavor and perfectly toasted pecans, these Butter Pecan Cookies are exactly what you need! 🍪✨ These cookies are soft in the center, slightly crisp at the edges, and absolutely loaded with buttery goodness and nutty crunch. With caramel notes from brown sugar and the irresistible aroma of toasted pecans, every bite is a warm hug in cookie form. They’re perfect for holiday baking, cookie swaps, or anytime you want to treat yourself to something special yet simple. Bonus: they freeze beautifully, making them an excellent make-ahead option! If you love nutty, cozy desserts, you’ll also enjoy this Butter Pecan Cake or try your hand at these Pecan Sandies. Let’s get baking!
- Nuts:
- 1 1/2 cups pecans (chopped)
- 2 tablespoons butter (for toasting the pecans)
- Cookie Dough:
- 1 cup unsalted butter (softened)
- 3/4 cup brown sugar (packed)
- 1/2 cup granulated sugar
- 2 large eggs (room temperature)
- 2 teaspoons vanilla extract
- Dry Ingredients:
- 2 1/4 cups all-purpose flour
- 1 teaspoon baking soda
- 1/2 teaspoon salt
- 1/2 teaspoon cinnamon (optional, for a warm touch)
- Optional Toppings:
- Flaky sea salt (for garnish)
- Extra pecan halves (for decoration)
Step 1: Toast the Pecans
- In a skillet over medium heat, melt 2 tablespoons of butter.
- Add the chopped pecans and toast for 3–5 minutes, stirring frequently, until fragrant and slightly golden.
- Remove from heat and let cool.
Step 2: Prepare the Dough
- In a large mixing bowl, cream together:
- Softened butter
- Brown sugar
- Granulated sugar
- Beat until light and fluffy, about 2–3 minutes.
Step 3: Add Eggs and Vanilla
- Add eggs, one at a time, beating well after each addition.
- Stir in the vanilla extract.
Step 4: Combine Dry Ingredients
- In a separate bowl, whisk together:
- Flour
- Baking soda
- Salt
- Cinnamon (if using)
- Gradually add the dry ingredients to the wet mixture, mixing until just combined.
Step 5: Fold in Pecans
- Gently fold in the toasted pecans, ensuring even distribution.
Step 6: Chill the Dough
- Cover the dough and refrigerate for at least 30 minutes.
- Tip: Chilled dough spreads less and results in thicker, chewier cookies.
Step 7: Bake
- Preheat your oven to 350°F (175°C).
- Line a baking sheet with parchment paper.
- Scoop dough into 1.5 tablespoon-sized balls and place 2 inches apart on the prepared baking sheet.
- Optionally, press a pecan half into the top of each dough ball for decoration.
- Bake for 10–12 minutes, or until the edges are golden and the centers are just set.
Step 8: Cool and Enjoy!
- Allow the cookies to cool on the baking sheet for 5 minutes, then transfer to a wire rack to cool completely.
- Sprinkle with flaky sea salt if desired, and enjoy!
Variations
Want to get creative with your Butter Pecan Cookies? Try these variations!
1. Chocolate Drizzle
Drizzle melted dark or white chocolate over cooled cookies for extra indulgence.
2. Brown Butter Base
Swap regular butter for brown butter to deepen the flavor profile.
3. Add Maple
Replace some sugar with maple syrup for a cozy maple-pecan twist.
4. Pecan Chocolate Chip
Fold in 1/2 cup chocolate chips for a sweet balance.
5. Gluten-Free
Use a 1:1 gluten-free flour blend for a gluten-free version.
6. Extra Crunchy
Add an extra 1/2 cup pecans for even more nutty crunch.
Storage and Reheating
Storage:
Store cookies in an airtight container at room temperature for up to 5 days.
Freezing:
Freeze baked cookies for up to 3 months.
Freeze cookie dough balls on a baking sheet, then transfer to a freezer bag.
Reheating:
Warm cookies in the microwave for 5–10 seconds to bring back that fresh-baked warmth.
Pro Tip: Add a slice of bread to your cookie container to keep them soft longer!
10 Frequently Asked Questions (FAQs)
1. Can I skip toasting the pecans?
Technically, yes — but toasting greatly enhances their flavor!
2. Can I use salted butter?
Yes, but reduce the added salt by half to balance the flavor.
3. Why chill the dough?
Chilling prevents spreading and creates thicker, chewier cookies.
4. Can I make these dairy-free?
Yes! Substitute butter with a dairy-free butter alternative.
5. How do I know when the cookies are done?
Look for golden edges and soft centers — they’ll continue setting as they cool.
6. Can I make smaller or larger cookies?
Yes! Adjust the baking time slightly — reduce by 2 minutes for small, add 2–3 minutes for large cookies.
7. Can I use other nuts?
Absolutely! Try walnuts, macadamia nuts, or almonds.
8. Can I freeze the dough?
Yes! Freeze dough balls and bake from frozen — just add 1–2 extra minutes to baking time.
9. What’s the best sugar for this recipe?
A combination of brown sugar and granulated sugar balances sweetness and moisture.
10. Can I double the recipe?
Definitely! This recipe doubles beautifully for larger batches.
Conclusion
These Butter Pecan Cookies are a little piece of heaven in every bite. 🍪✨
Buttery, toasty, and perfectly nutty, they’re everything you love about a homemade cookie. Whether you’re baking for a party, filling your holiday cookie tin, or just treating yourself on a cozy afternoon, this recipe is guaranteed to delight.
Don’t forget to try the variations for even more flavor twists! And if you’re a fan of cozy, comforting bakes, you’ll love these Soft Brown Sugar Cookies or this amazing Pecan Pie Bars.
Happy baking! 🎉