✨ Introduction
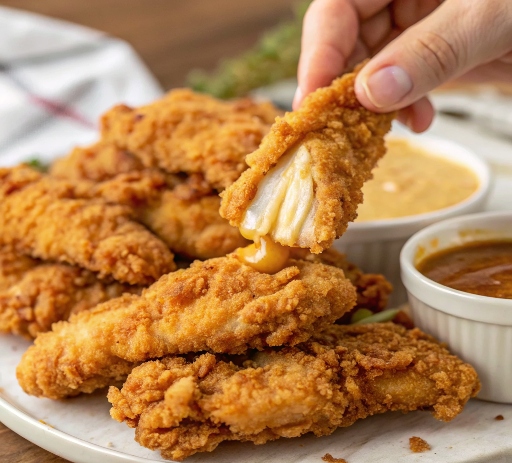
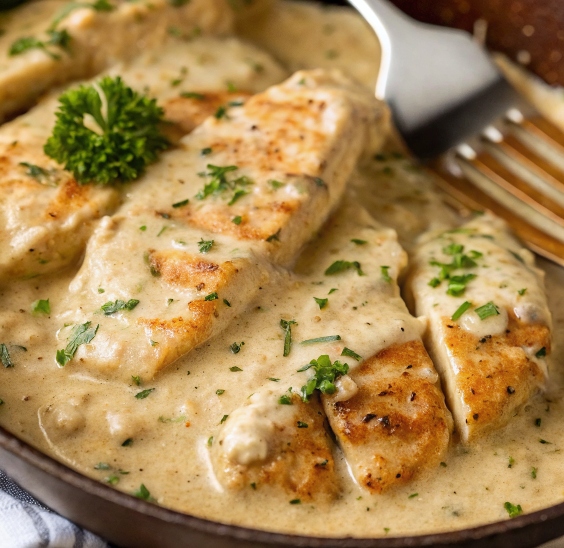
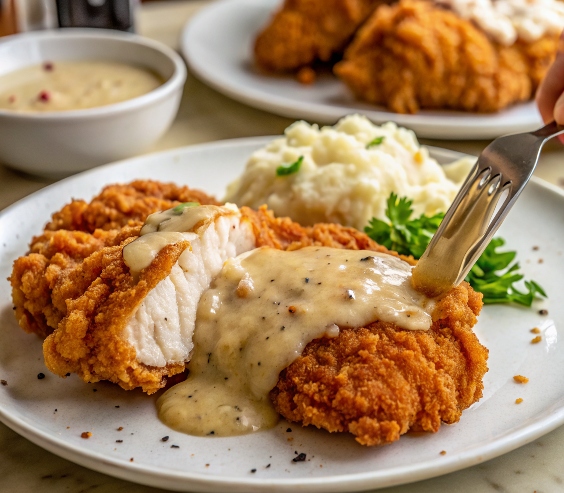
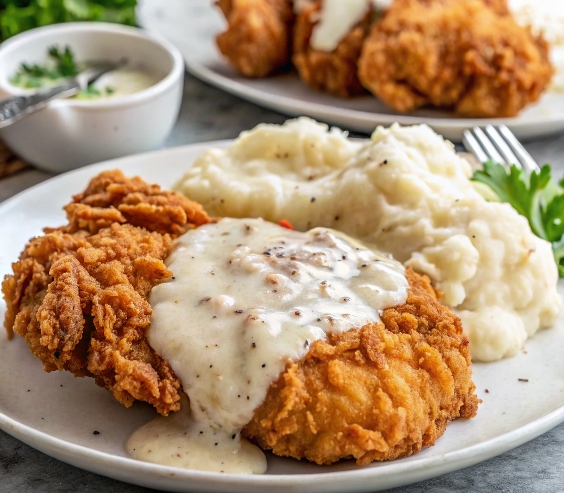
Nothing says comfort food quite like Chicken Fried Chicken — and this is the best EVER version. Perfectly seasoned, double-dipped, and fried to golden perfection, these thin, juicy chicken breasts are what Southern dreams are made of. Serve them with mashed potatoes, gravy, and buttery biscuits for a restaurant-style meal that’s surprisingly easy to make at home.
🍽️ Servings & Time
- Yield: 6 servings
- Prep Time: 15 minutes
- Cook Time: 20 minutes
- Marinate Time: 30 minutes (optional but recommended)
- Total Time: ~1 hour
🛒 Ingredients
Meat:
- 6 thin-sliced boneless chicken breasts
Refrigerated:
- 1 large egg
Dairy:
- 1 ½ cups buttermilk
- 2 cups milk
Condiments:
- 1 tbsp hot sauce (like Tabasco or Frank’s)
Baking & Spices:
- 2 ⅓ cups all-purpose flour
- 2 tsp baking powder
- 1 tsp baking soda
- 1 tsp garlic powder
- 1 tsp black pepper
- 1 tsp salt
- Additional salt & pepper, to taste
Oils & Vinegars:
- Neutral oil for frying (canola, peanut, or vegetable)
- ¼ cup reserved frying oil (optional for gravy)
🧑🍳 Equipment Needed
- Large cast-iron skillet or heavy-bottomed pan
- Shallow bowls (for dredging)
- Tongs
- Wire rack & baking sheet
- Meat mallet (if needed to pound chicken thin)
🍳 Instructions
1. Marinate the Chicken:
In a bowl, whisk buttermilk, egg, hot sauce, salt, and pepper. Submerge chicken breasts in the mixture and let marinate for at least 30 minutes (or up to 4 hours for maximum flavor).
2. Prepare the Breading:
In a shallow bowl, whisk together flour, baking powder, baking soda, garlic powder, salt, and pepper.
3. Dredge the Chicken:
Remove chicken from marinade, letting excess drip off. Dredge in the seasoned flour, press to coat, dip back into the buttermilk mixture, then dredge again for a thick, crispy crust.
4. Fry Until Golden:
Heat ½ inch of oil in a large skillet to 350°F (175°C). Fry chicken in batches for 3–4 minutes per side, or until deep golden brown and internal temperature reaches 165°F (74°C).
Transfer to a wire rack to drain while you finish the rest.
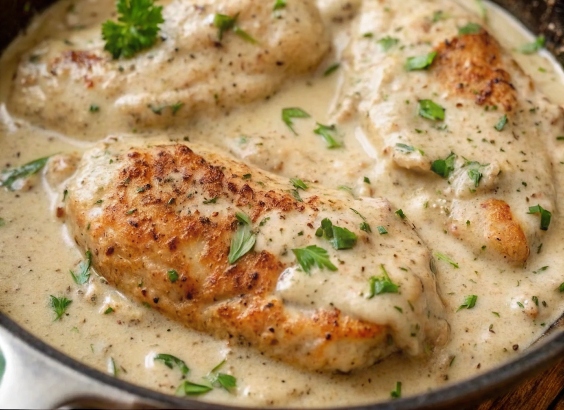
5. (Optional) Make Gravy:
In the same skillet, reserve ¼ cup of oil. Add ¼ cup flour and cook until golden. Slowly whisk in 2 cups milk, stirring constantly until thickened. Season with salt and pepper to taste.
6. Serve & Enjoy:
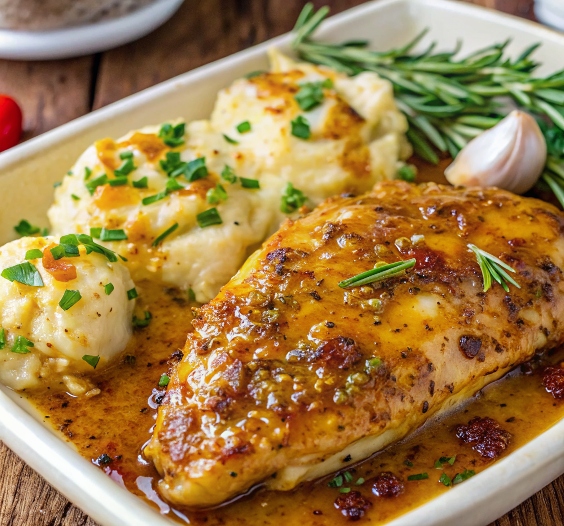
Serve crispy chicken over mashed potatoes and drizzle with gravy, or enjoy on its own with hot sauce!
🔁 Variations
- Spicy Version: Add cayenne to the flour mix and more hot sauce to the marinade.
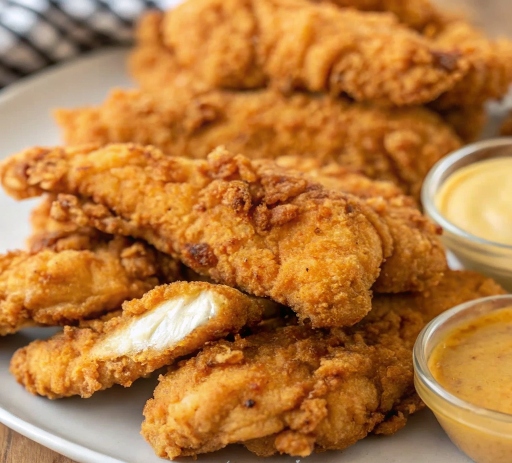
- Chicken Tenders Style: Use chicken tenderloins instead of breasts.
- Buttermilk Sub: If needed, mix 1 ½ cups milk with 1 tbsp lemon juice and let sit for 5 minutes.
🧊 Storage Tips
- Fridge: Store cooled chicken in an airtight container for up to 3 days.
- Reheat: Warm in the oven or air fryer at 350°F for 8–10 minutes to stay crispy.
- Freeze: Freeze cooked, cooled chicken for up to 2 months. Reheat from frozen in the oven.
❓ Frequently Asked Questions
What’s the difference between Chicken Fried Chicken and Fried Chicken?
Chicken Fried Chicken uses boneless, pounded chicken breasts and is pan-fried like chicken-fried steak, often served with gravy.
Can I bake instead of fry?
For this dish, frying gives the classic crispy crust. Baking won’t produce the same texture.
Why use baking powder and soda?
They help create a super light and crisp coating — don’t skip them!
Best EVER Chicken Fried Chicken – Crispy, Juicy, and Full of Flavor!

Nothing says comfort food quite like Chicken Fried Chicken — and this is the best EVER version. Perfectly seasoned, double-dipped, and fried to golden perfection, these thin, juicy chicken breasts are what Southern dreams are made of. Serve them with mashed potatoes, gravy, and buttery biscuits for a restaurant-style meal that’s surprisingly easy to make at home.
- Large cast-iron skillet or heavy-bottomed pan
- Shallow bowls (for dredging)
- Tongs
- Wire rack & baking sheet
- Meat mallet (if needed to pound chicken thin)
Meat:
- 6 thin-sliced boneless chicken breasts
Refrigerated:
- 1 large egg
Dairy:
- 1 ½ cups buttermilk
- 2 cups milk
Condiments:
- 1 tbsp hot sauce (like Tabasco or Frank’s)
Baking & Spices:
- 2 ⅓ cups all-purpose flour
- 2 tsp baking powder
- 1 tsp baking soda
- 1 tsp garlic powder
- 1 tsp black pepper
- 1 tsp salt
- Additional salt & pepper (to taste)
Oils & Vinegars:
- Neutral oil for frying (canola, peanut, or vegetable)
- ¼ cup reserved frying oil (optional for gravy)
Marinate the Chicken:
- In a bowl, whisk buttermilk, egg, hot sauce, salt, and pepper. Submerge chicken breasts in the mixture and let marinate for at least 30 minutes (or up to 4 hours for maximum flavor).
Prepare the Breading:
- In a shallow bowl, whisk together flour, baking powder, baking soda, garlic powder, salt, and pepper.
Dredge the Chicken:
- Remove chicken from marinade, letting excess drip off. Dredge in the seasoned flour, press to coat, dip back into the buttermilk mixture, then dredge again for a thick, crispy crust.
Fry Until Golden:
- Heat ½ inch of oil in a large skillet to 350°F (175°C). Fry chicken in batches for 3–4 minutes per side, or until deep golden brown and internal temperature reaches 165°F (74°C).
- Transfer to a wire rack to drain while you finish the rest.
(Optional) Make Gravy:
- In the same skillet, reserve ¼ cup of oil. Add ¼ cup flour and cook until golden. Slowly whisk in 2 cups milk, stirring constantly until thickened. Season with salt and pepper to taste.
Serve & Enjoy:
- Serve crispy chicken over mashed potatoes and drizzle with gravy, or enjoy on its own with hot sauce!
🔁 Variations
Spicy Version: Add cayenne to the flour mix and more hot sauce to the marinade.
Chicken Tenders Style: Use chicken tenderloins instead of breasts.
Buttermilk Sub: If needed, mix 1 ½ cups milk with 1 tbsp lemon juice and let sit for 5 minutes.
🧊 Storage Tips
Fridge: Store cooled chicken in an airtight container for up to 3 days.
Reheat: Warm in the oven or air fryer at 350°F for 8–10 minutes to stay crispy.
Freeze: Freeze cooked, cooled chicken for up to 2 months. Reheat from frozen in the oven.
❓ Frequently Asked Questions
What’s the difference between Chicken Fried Chicken and Fried Chicken?
Chicken Fried Chicken uses boneless, pounded chicken breasts and is pan-fried like chicken-fried steak, often served with gravy.
Can I bake instead of fry?
For this dish, frying gives the classic crispy crust. Baking won’t produce the same texture.
Why use baking powder and soda?
They help create a super light and crisp coating — don’t skip them!